How to Do Sharpie Shiplap
Project
Room
Cost
Skill Level
Love the look of shiplap but don’t want to add the extra weight to your RV or shell out for the material? Check out this easy DIY sharpie shiplap wall to give you all of the style at practically no cost!
DIY Sharpie Shiplap
Shiplap is undoubtedly a classic, beautiful look; however, it does come with a hefty price tag and may not be the right option for your RV. If you’re thinking about adding real shiplap to your RV, be sure to consider the GVWR (Gross Vehicle Weight Rating) and GAWR (Gross Axle Weight Rating) as the shiplap boards can add a lot of unnecessary weight.
Something else you may not have considered but can be an issue with real shiplap is the dust. That’s right – all those little gaps in the boards are the perfect spot for the dust to settle and collect.
To mitigate those reasons, we’ve started doing a shiplap wall with Sharpie. This faux shiplap painting technique adds no extra weight and gives you the same look for only a couple of dollars.
Does Sharpie shiplap look real?
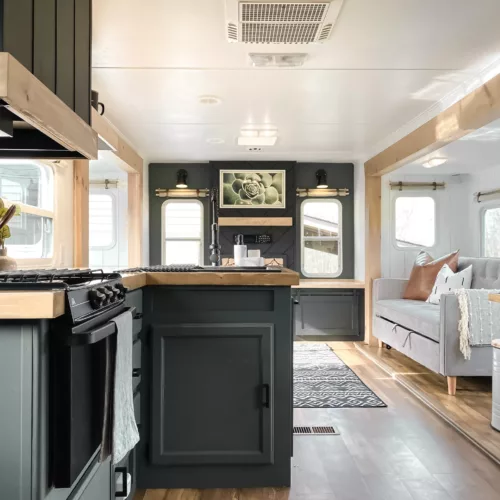
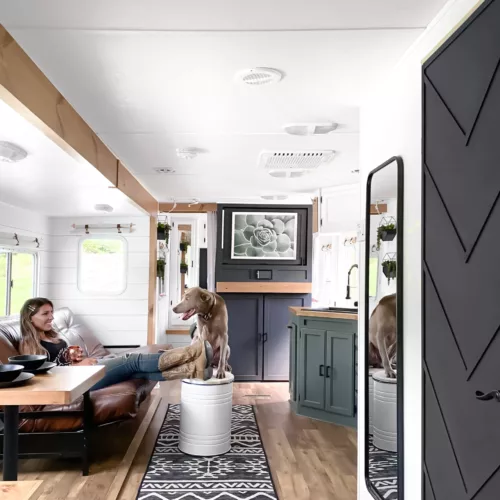
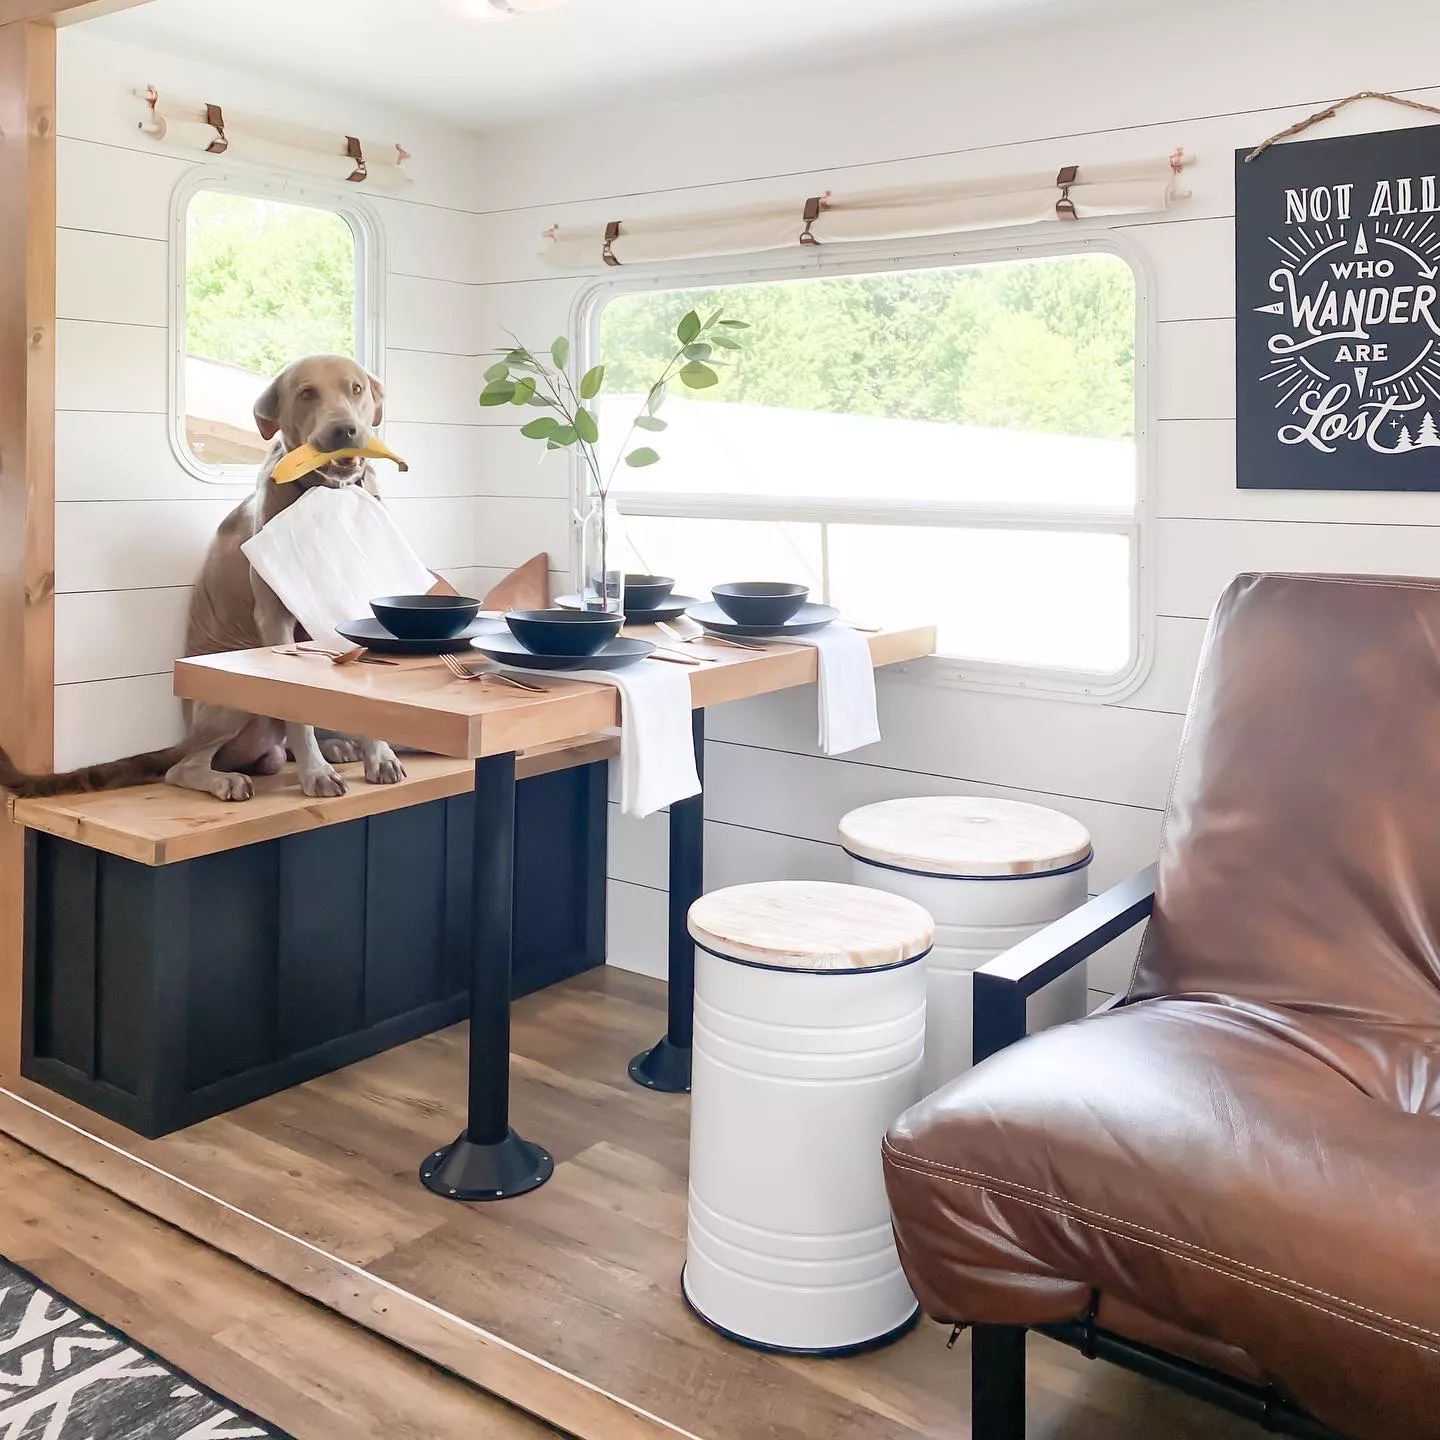
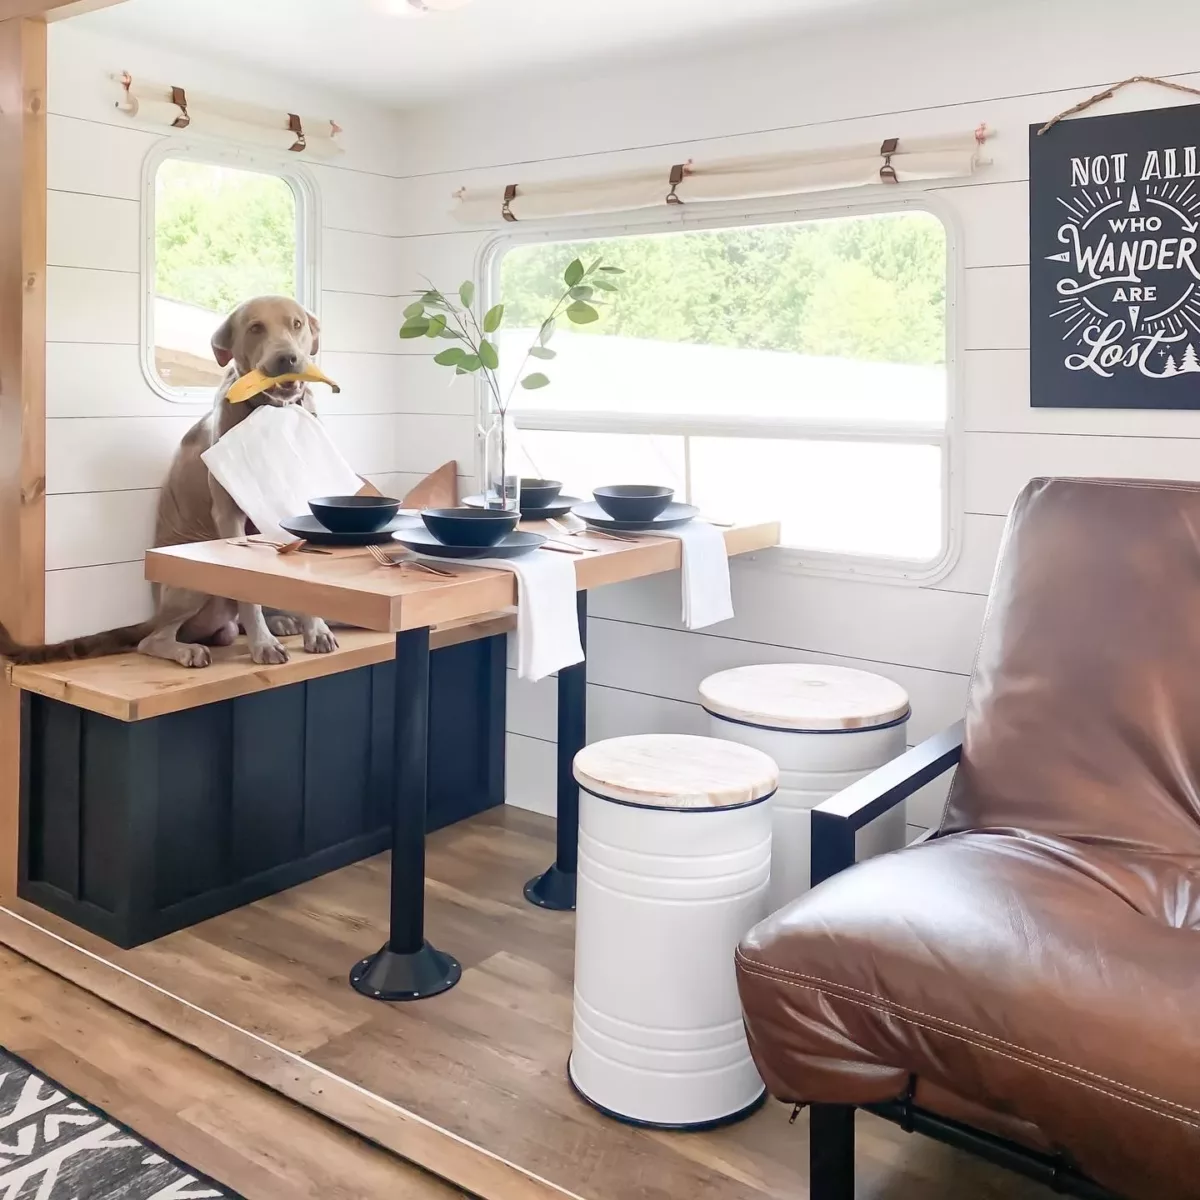
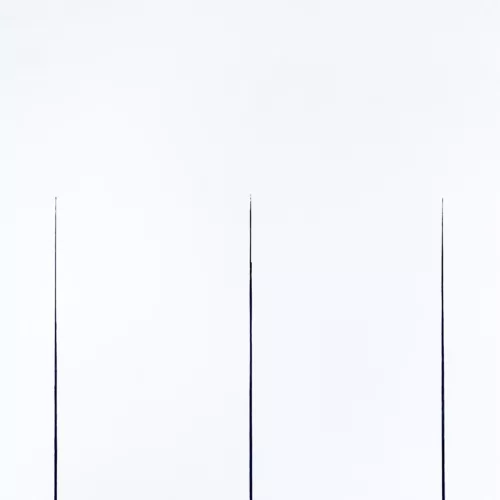
The results speak for themselves! From a distance, you would have no idea that this wall wasn’t real shiplap!
Using this DIY faux shiplap technique is perfect for decorating and styling your RV’s renovated interior.
What kind of Sharpie should you use?
There is an abundance of options for making your Sharpie shiplap wall your own. If you want to get creative, you could choose a colored permanent marker or a paint pen.
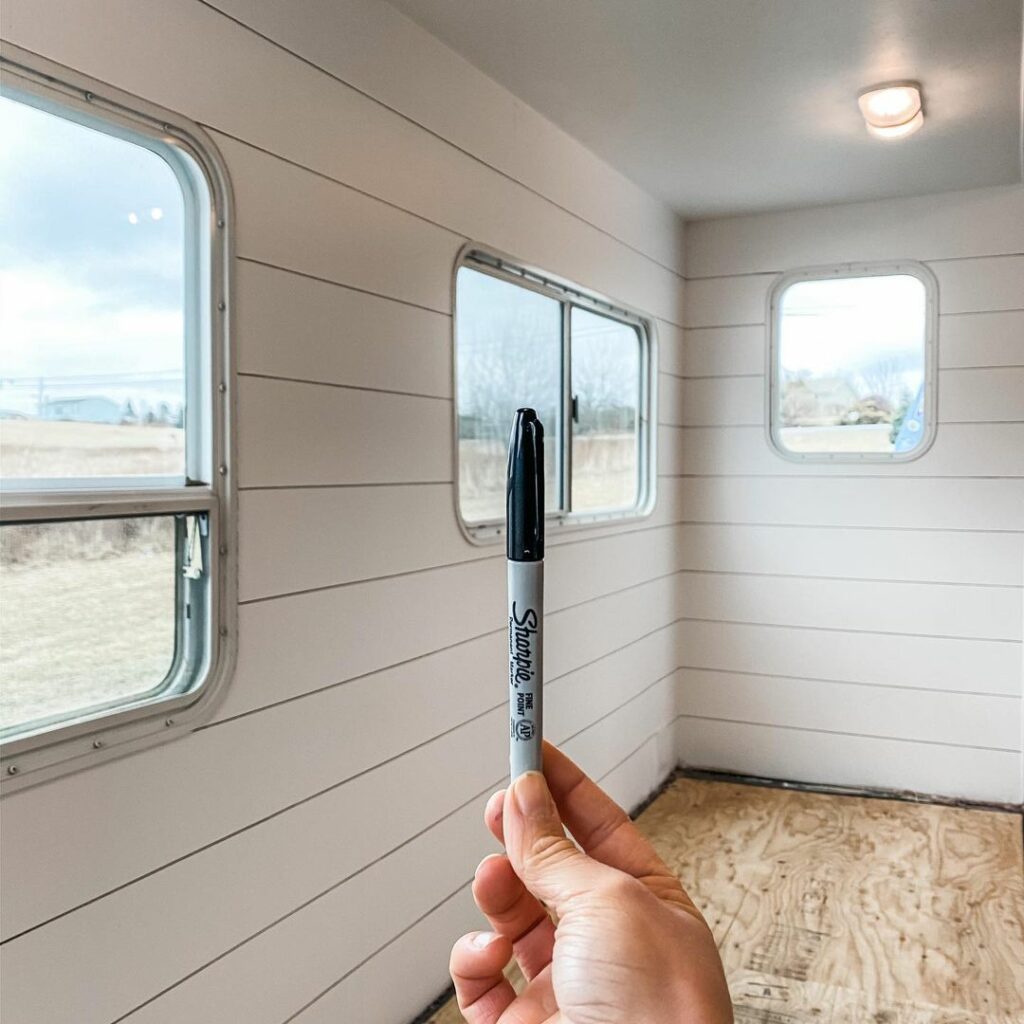
For this tutorial, we recommend using the Sharpie Classic with a fine point to keep your lines crisp and sharp.
Should I make my shiplap horizontal or vertical?
While horizontal shiplap is the signature look from Joanna Gaines, both horizontal and vertical shiplap have their place in design. Which one you choose will depend on your own style and what you are wanting to achieve in the space.
Horizontal shiplap features
- If your design is more modern or farmhouse then horizontal shiplap is the way to go
- Widens the room making it ideal for all RVs
Vertical shiplap features
- If your design is mid-century, contemporary, or traditional then vertical shiplap is terrific
- Timeless quality and appeal
- Heightens the room (perfect for travel trailers with lower ceilings)
How to Do Your Sharpie Shiplap Wall
See how to do DIY Sharpie shiplap below.
Tools
- 2 x Sharpie
- Yardstick, ruler, or level
- Pencil
Instructions
Step
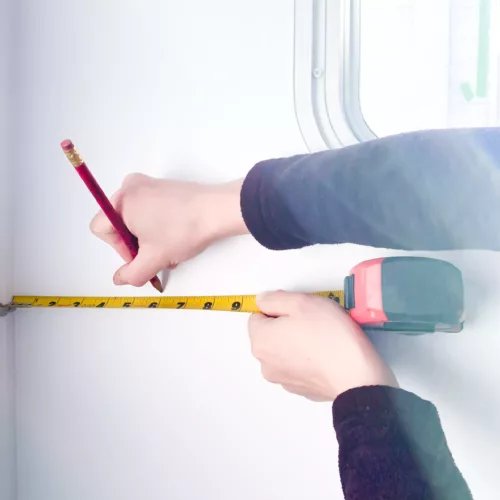
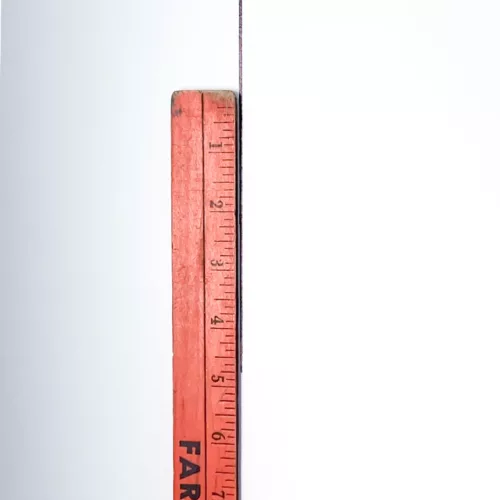
Figure out which direction you would like to run the shiplap. Then with your pencil and yardstick (or tape measure), mark a small tic at every increment across the space. This tic delineates the width of the shiplap’s “plank”.
In my case, I made the planks 6 inches wide, so I made marks every 6, 12, 18, 24, 30, and 36 inches. Repeat this process across the wall.
Step
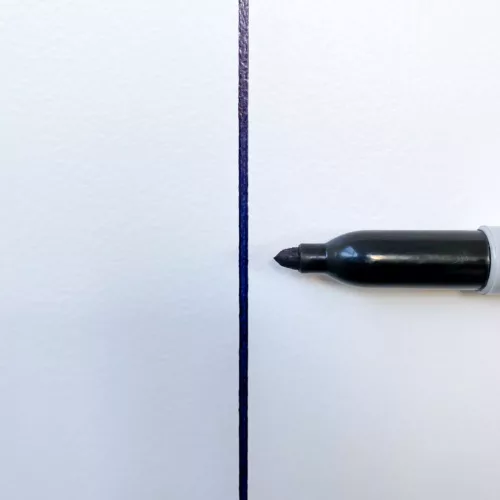
Line up your yardstick with the pencil marks and run the Sharpie along the edge. You’ll need to do a couple of passes with the Sharpie to make sure the line has no gaps.
Don’t apply too much pressure to the Sharpie as the ink won’t flow easily. Sometimes you may need to rotate the Sharpie to ensure the felt tip is full of ink.
Important: For continuous lines longer than the yardstick, reduce pressure on the Sharpie as you reach the end. This will feather the line out, so once you shift over the yardstick, the start of the next line section will blend into the first.
Step
Be patient and take your time (especially if you’re doing Sharpie shiplap on textured walls).
The less textured your walls are and the slower you go, the cleaner your lines will look.
If you make a mistake, touch the wall up with some paint and a small paintbrush.
Practice makes perfect. So start in an area that is not visible to you get the hang of it.