How to Repair Water Damage on RV Slide Floors
Project
Room
Cost
Skill Level
RV water damage is not something you should ignore. A small leak can be a sneaky problem that wreaks havoc on the interior of your RV now and in the future. Find out how to repair water damage on your RV slide floors with this step-by-step guide.
Signs of RV Water Damage
Whether you own your RV or you’re in the market for one, water damage inspection is something you should not skip out on. Here are a few signs of water damage that you should be on the look for:
- Damp or mildewy smells
- Soft spots in the roof, in the walls, or along the floors
- Stains or discoloration
- Mold
- Rusty outer screws
- Cracked caulk
If you’ve spotted any of these in your RV (or an RV you’re considering purchasing), it’s a strong indicator that there is water getting in somewhere.
Where to look for water damage in your RV
If there’s a water leak in the middle of the floor of your RV, you’ll probably notice it. But there are sneaky places that you might not consider regularly inspecting.
Anywhere a roof or wall has been cut for an opening is a potential leaking point. Regularly inspect:
- RV windows
- Doors
- The seals of the RV slide outs
- Equipment on the roof (A/C, antennas, vents, etc.)
- The seams of your roof, walls, and ceilings (interior and exterior seals)
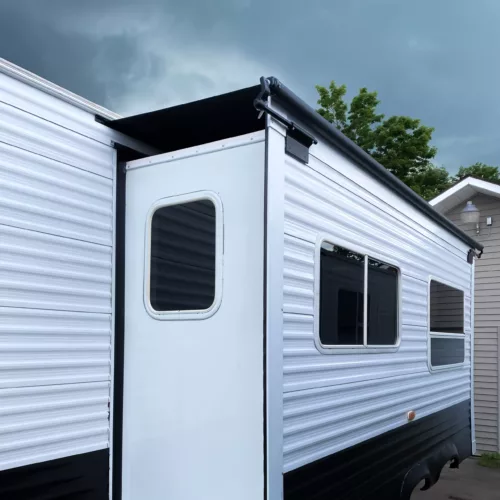
The seals of RV slide outs are notorious for leaks. RV slides have seals that can be cracked, often aren’t replaced or maintained regularly, and get dirty. Also, if you make a habit out of parking your rig in a less than level position, your slide seals may not function as intended.
RV Slide Out Floor Water Damage Repair Steps
If you’ve found water damage in your RV, it isn’t a death sentence for your rig. However, it isn’t always a simple fix. Water damage can creep and go unnoticed. When repairing water damage, make sure you strip everything back to find every last inch of water damage to prevent future problems.
Here are step-by-step instructions on how to repair water damage to your slide floors. (Since all slideouts are built differently, the instructions below are for models that have wear bars.)
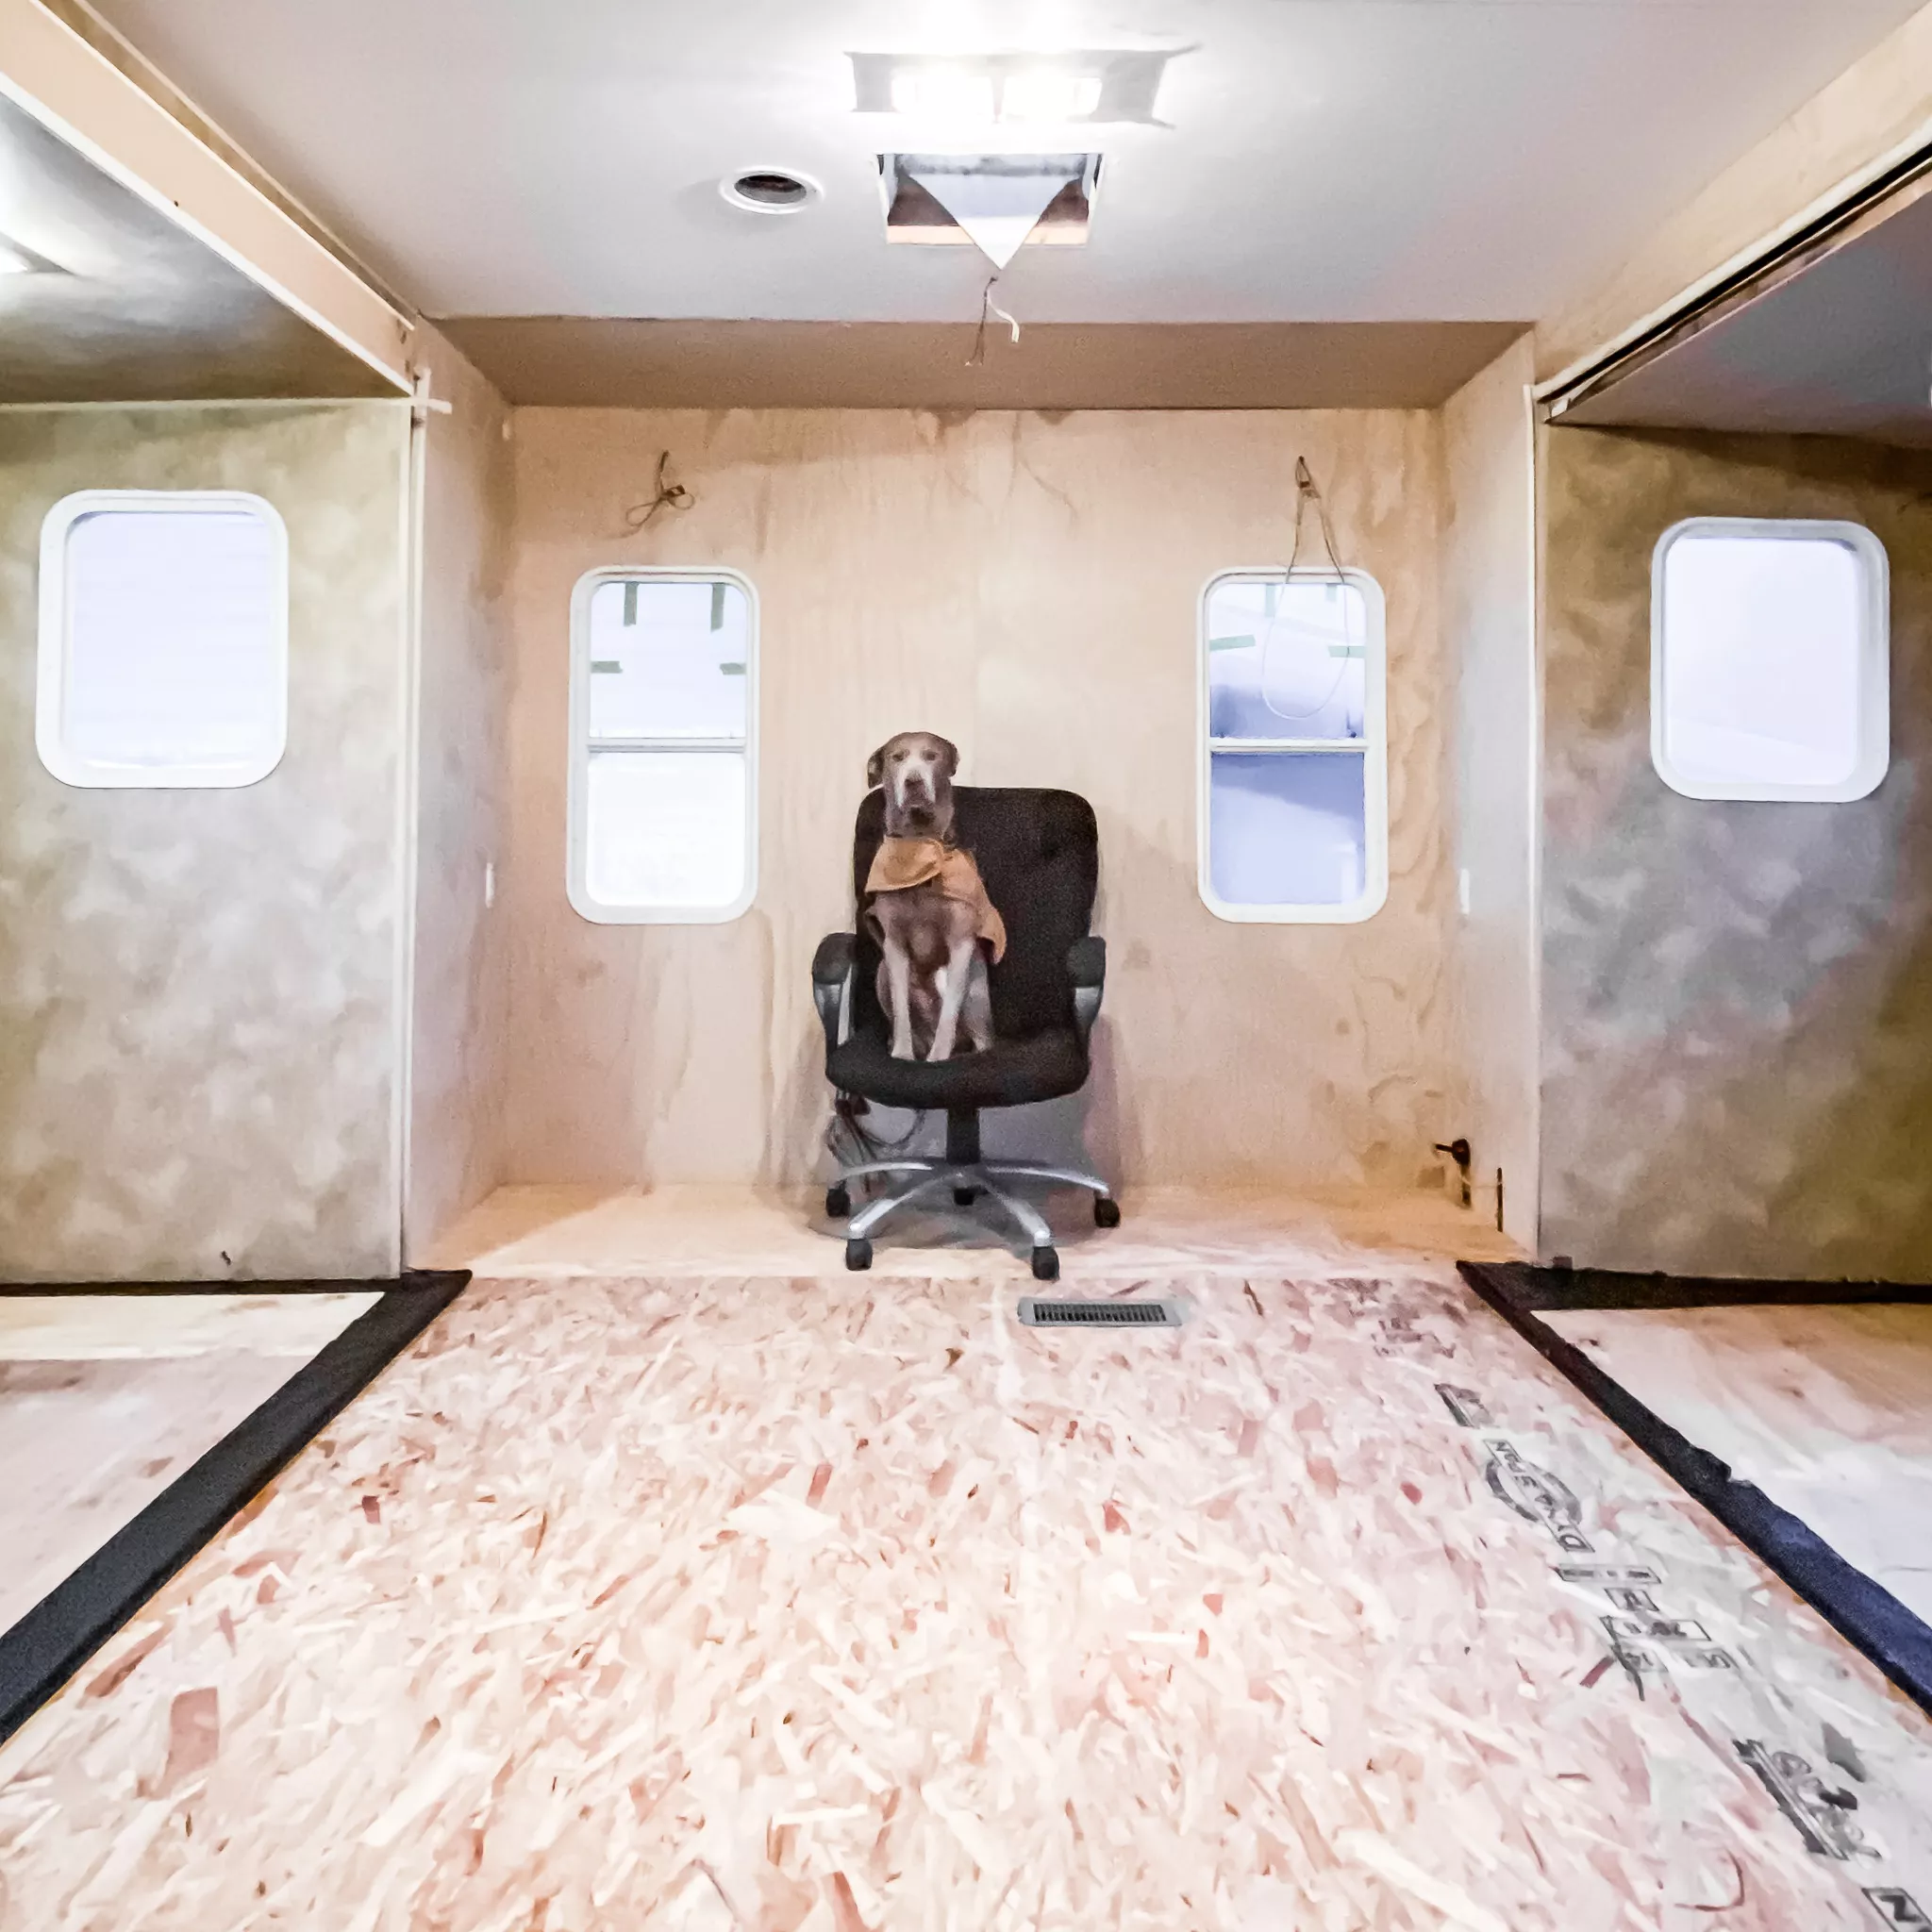
Before beginning, remove any furniture from the slide out and pull up the flooring (carpet, vinyl, etc.). This process begins on the subfloor.
Instructions
Step
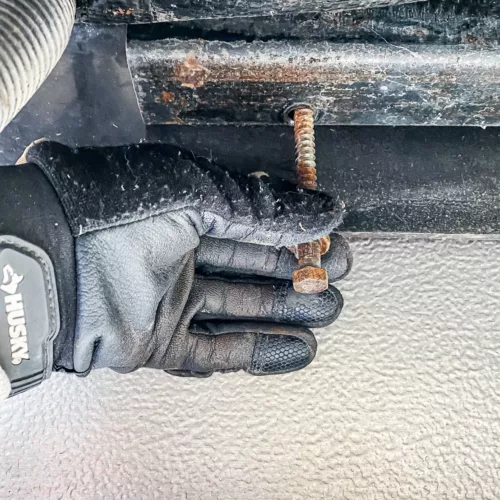
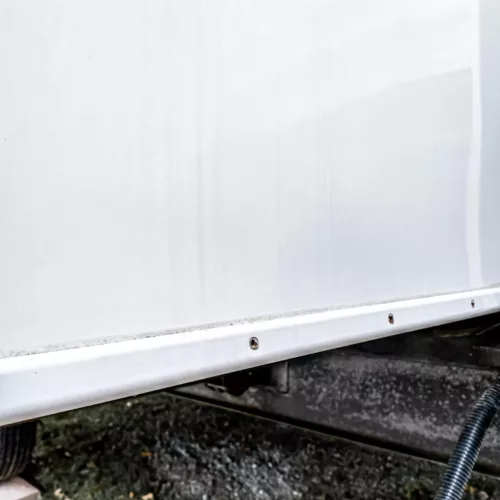
Remove any lag bolts and screws that may be holding in the water damaged section of the subfloor.
Only remove the screws/bolts from the area you will be replacing. Screws can be found on the exterior edge as well as underneath the RV slide out.
Step
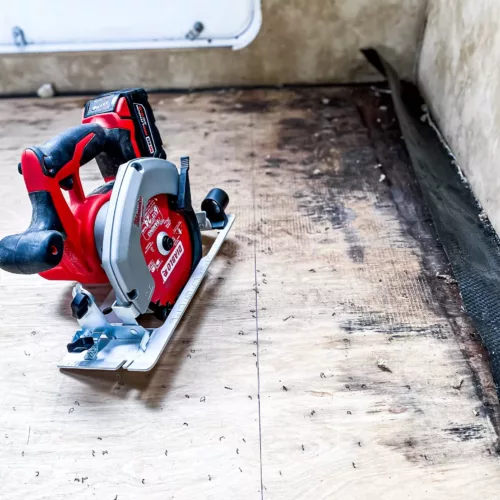
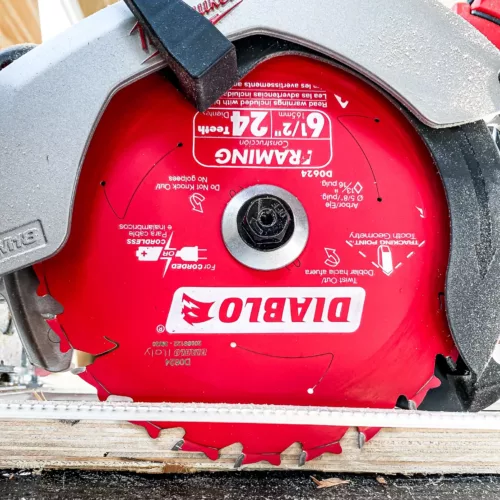
Set your circular saw blade to the depth of the subfloor. (In my case, it was 3/4″).
Then mark a line with a straight edge around the damaged subflooring. Cut along it with the circular saw. For any areas that the circular saw blade can’t reach, use a multitool to cut out the wet areas.
Important: Make sure your line is square and your cut is clean. This is important because the new subfloor piece will need to butt up against the original floor without any gaps.
Also, be careful not to cut any wires that run through the subfloor and into the walls.
Step
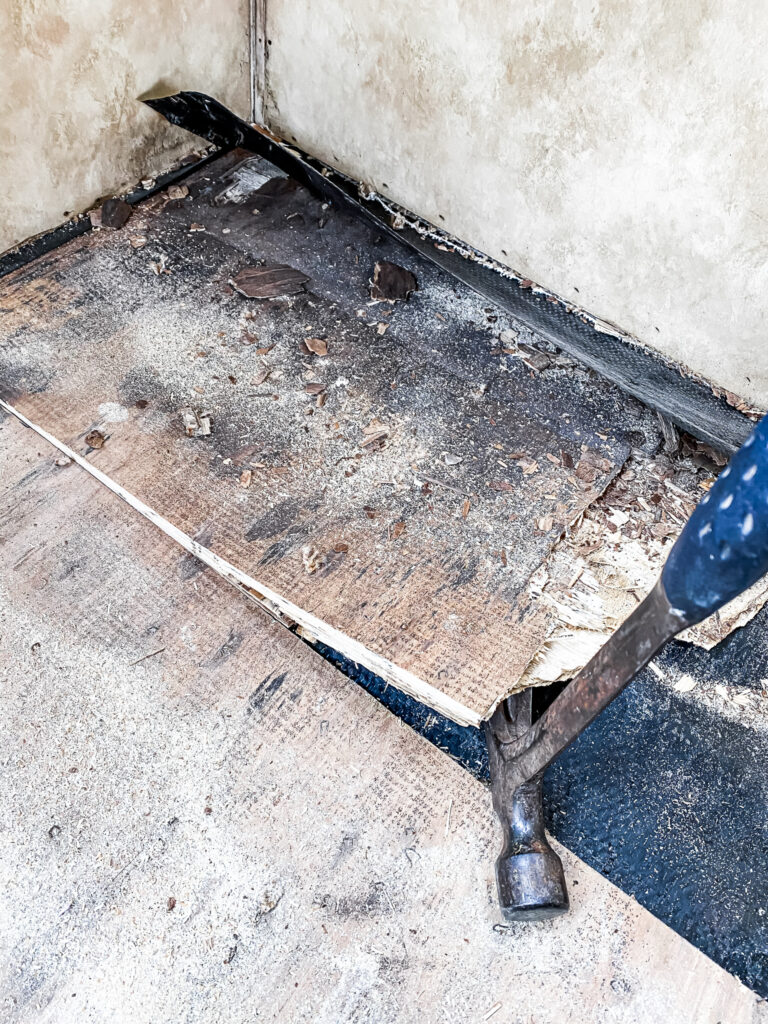
With a pry bar or hammer, pry up the water damaged section of the RV subfloor.
Try to keep the black underbelly cover intact. Clean up any debris with a shop vac.
Step
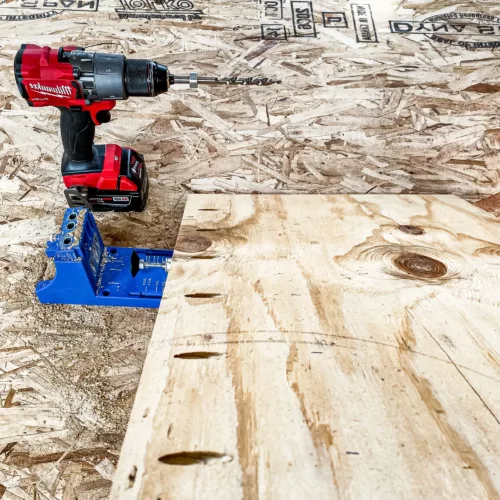
Measure and cut a new piece of plywood that will fit in the place of the water damaged section. The new wood should be the same thickness as the subfloor that you removed.
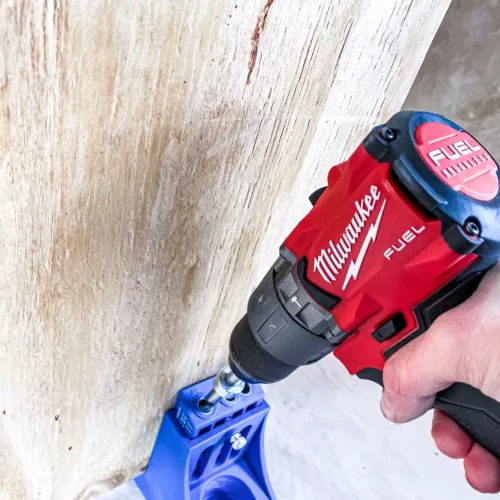
Then with a Kreg Jig – drill pocket holes every 4″. Use these instructions to set the correct depth of your jig.
If you have wires that run through the floor into the walls, be sure to notch out a small rectangle for them.
Remember: Make sure the plywood extends underneath the wall studs and your cuts are clean and square.
Step
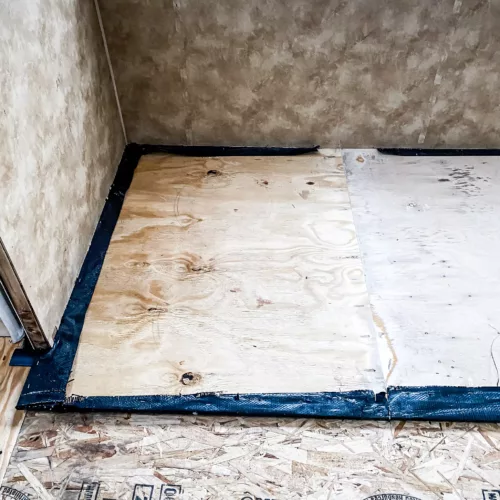
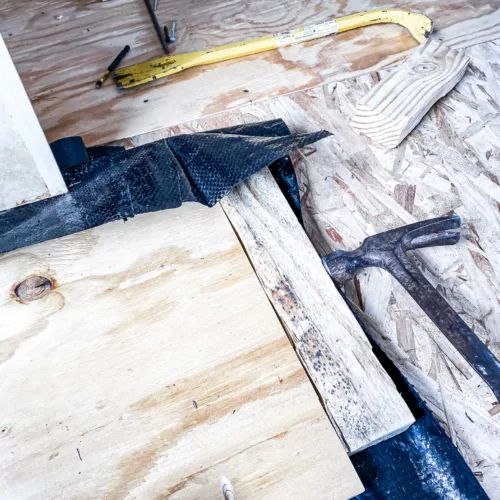
Slide the new piece of plywood in and make sure the underbelly is pulled tight.
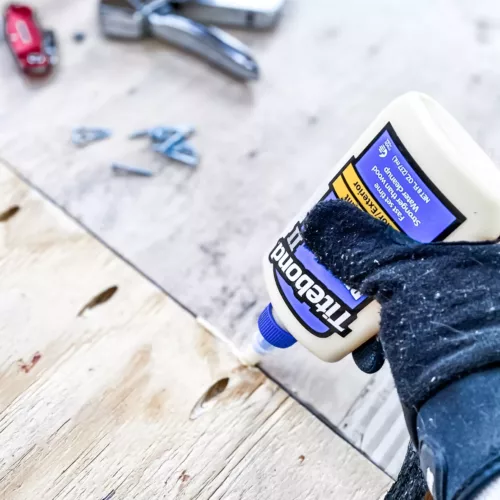
Once the plywood is in, apply a generous amount of wood glue down the seam. Then use pocket screws to attach the new plywood to the original subfloor. Make sure the two pieces are flush.
Note: If you have trouble sliding the piece in place, use a block of wood and hammer it in. You also might need to pry up the edge of the wall for extra clearance.
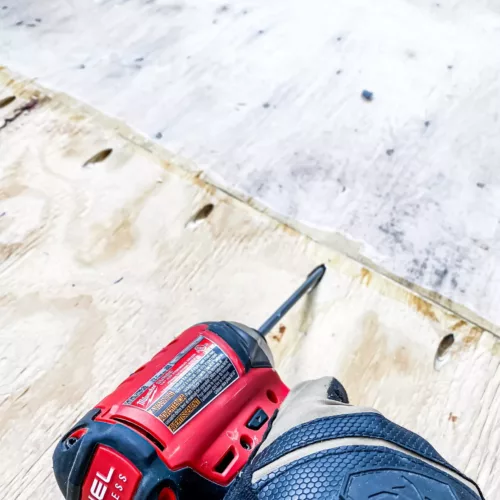
Step
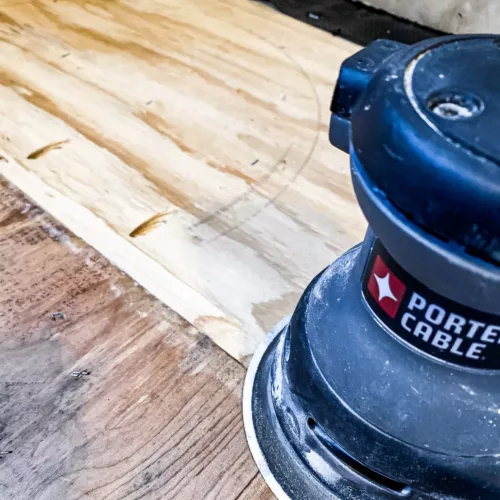
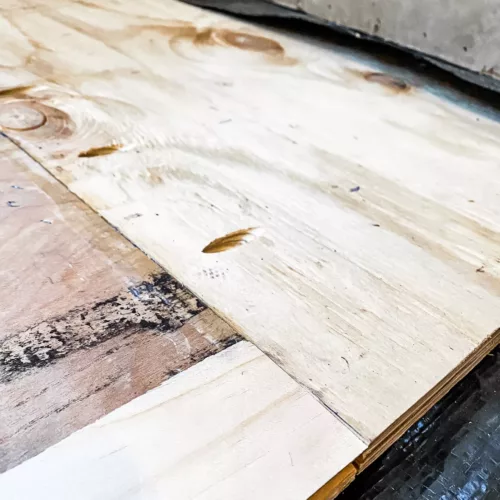
Once the wood glue is dry, sand down the seam with 80 grit sandpaper to ensure a smooth transition between the two plywood pieces.
Tip: If you have an angled edge on the front of your slide out floor, rip down a 1×3 at 12.5º to make the edge square. Then, attach with wood glue and 3/4″ finish nails at a 45º angle.
Step
From underneath the slide out, add 2 1/2″ exterior screws into the new plywood and wall studs. Then reinstall any removed lag bolts.
Finally, staple the underbelly back into place and use underbelly tape to repair any areas that you may have cut.
Important: Make sure the screws are countersunk so that there is no risk of the screw heads scratching your floor when the slide out is retracted in.
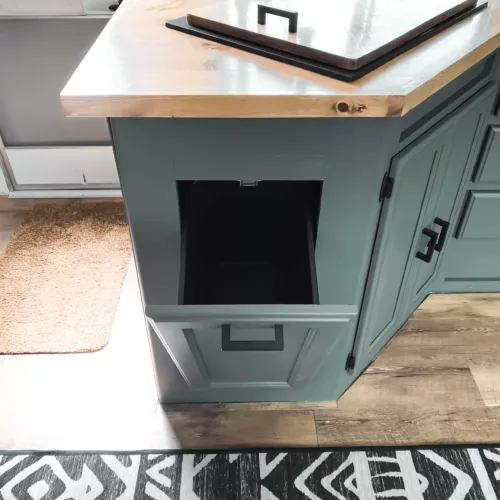
Now that the water damage is gone, you can replace your camper’s flooring!
