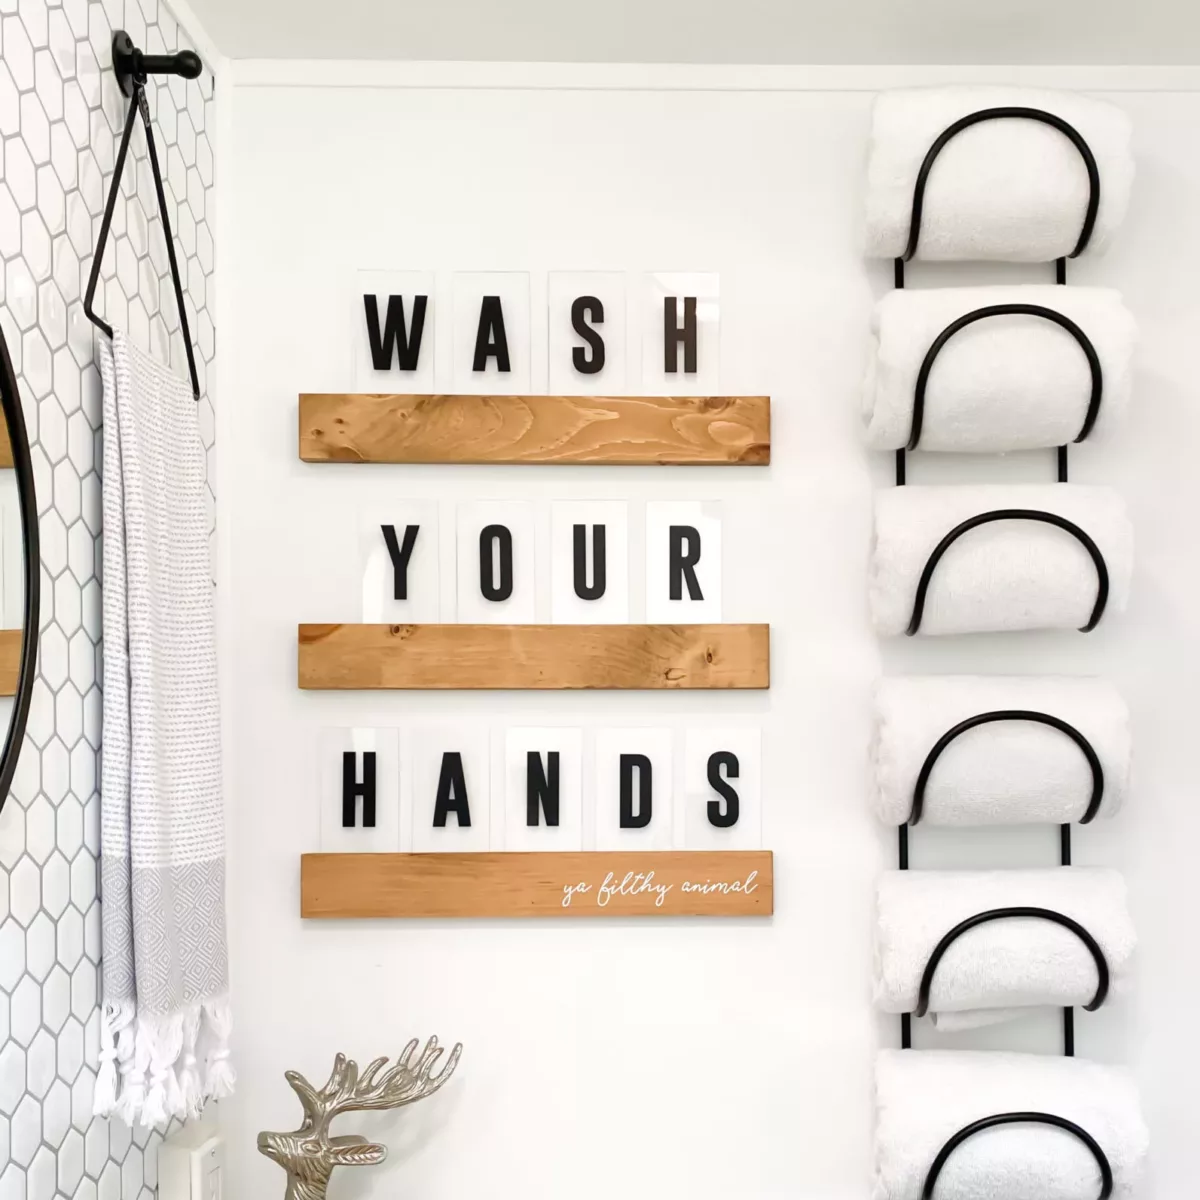
How to Make a DIY Letter Ledge
Project
Room
Cost
Skill Level
Love your Cricut? Love a good DIY project? This easy DIY letter ledge project is perfect for every season, your favorite holidays, or that special event!
What is a Letter Ledge?
If you’ve seen these trendy, super popular boards but weren’t sure of the name, they are letter boards, letter ledges, or marquees. These customizable forms of signage employ individually movable letters to spell out whatever phrase you wish. You can use them in photos, display information to your Airbnb or RV rental guests (like the wifi password), show them off on social media, or advertise for your business.
Follow these easy step-by-step directions on how to make a DIY letter board for your wall!
Shopping List
| Item | Description | Quantity |
|---|---|---|
| 11″ x 14″ .093″ Acrylic Sheet | Order here | 3 |
| 1″ x 3″ x 8″ Pine Board | Order here | 1 |
| 12″ x 12″ Vinyl Sheets | Order here | 1 pack |
| 1 1/4” 18 Gauge Brad Nails | Order here | 1 pack |
Tools & Supplies
Instructions for making your DIY letter ledge
Step
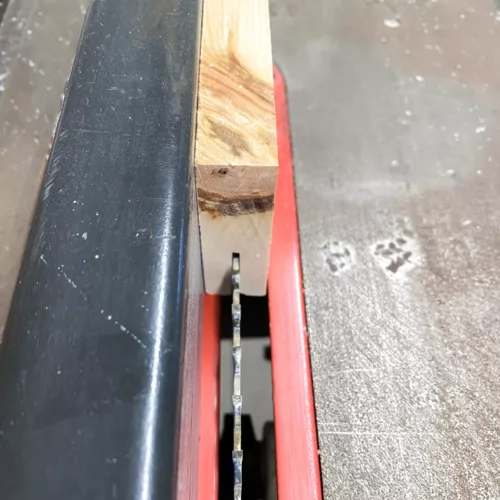
Cut the boards & the grooves
Cut the 1×3 board to your desired length for each letter ledge row.
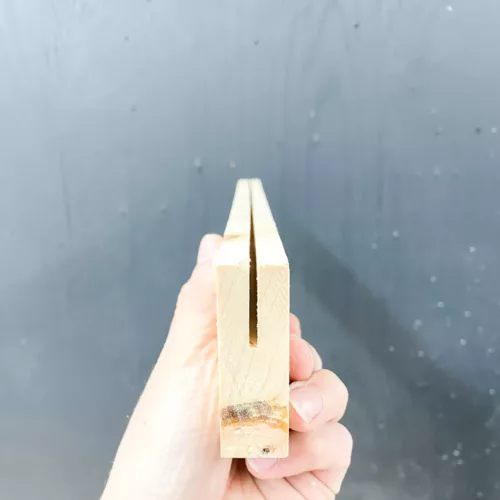
Next, set the height of your table saw blade to 1″. Set the width of the glide rail to 3/8″. Pass the 1×3 through the table saw blade to create a 1″ deep channel.
Finish and stain the board as desired.
My favorite wood finish combination:
Step
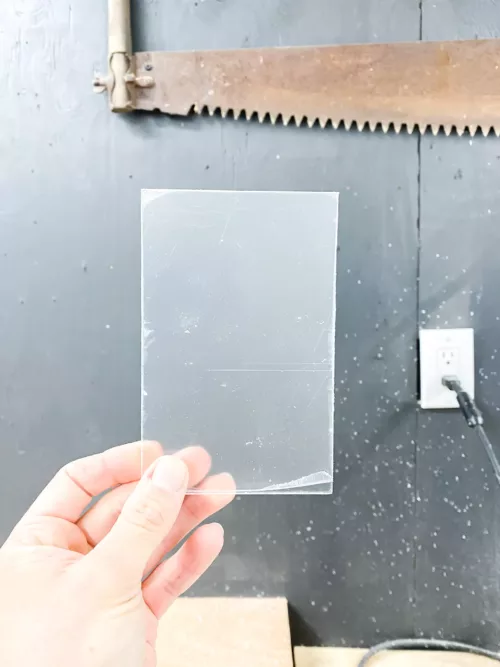
Cut the acrylic sheets
Set the height of your table saw blade to 1/4″. Then, set the width of the glide rail to your desired letter card length.
For my letter board, I ripped an 11×14 acrylic sheet into 10 – 2.75″ x 5 1/5″ cards, so I set the glide rail at 5 1/2″.
Rip down the acrylic sheet into 2 equal lengths. Use the miter saw to cut the width of each letter card.
Sand any rough edges down with 220 grit sandpaper and removed the acrylic sheet protector.
Tips for cutting acrylic sheets
- Always account for the 1/8″ blade thickness
- When cutting the acrylic sheet, be sure to go as slow as possible to prevent chipping
Step
Make the letters
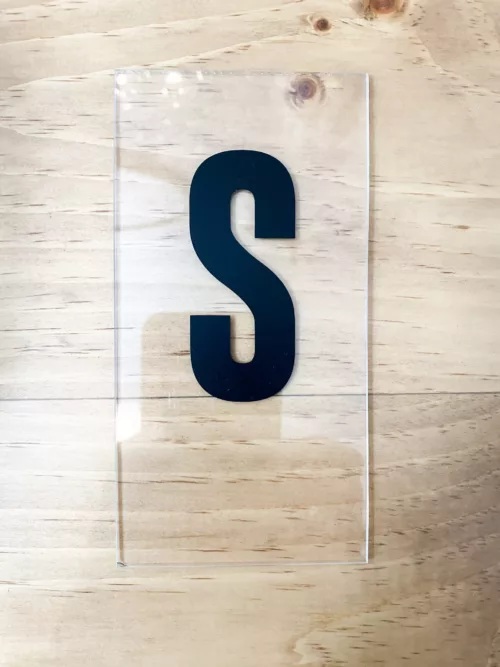
Use your Cricut or vinyl cutter to cut out letters in the vinyl sheets.
I used the font GoBold and made the letters each 3″ in height.
Once your letters are cut, apply them to each letter card.
Tips for applying the vinyl letters
- Make sure the letter card is free from debris
- Be sure to account for 1″ that will be hidden by the wooden letter ledge row
- Lay a grid underneath the letter card surface to help visually align all the letters the same
Step
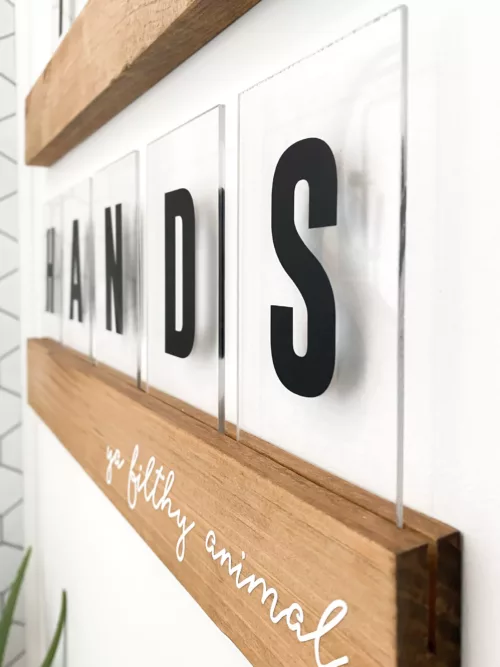
Assemble your letter ledge
Insert your letter cards into the letter ledge row and figure out the spacing for each row. Use a finish nailer to tack each row onto your wall.
Be sure to nail the bottom of the board only. You don’t want to nail through any of your cards.
Isn’t This an Easy Guide to Making a DIY Letter Ledge?
No room is complete without a letter board! What will you create? Tag me on Instagram so I can see your creations at @thehappyglamperco
Looking for more DIY guides and printables? Check out my store to shop for the very best wall decor.