How to Reseal an RV Exterior
Project
Room
Cost
Skill Level
RV water damage is a costly problem and one that will cause tons of unseen damage. Prevent water damage from occurring by resealing your RV’s exterior. In this guide, we will explain how to reseal an RV exterior.
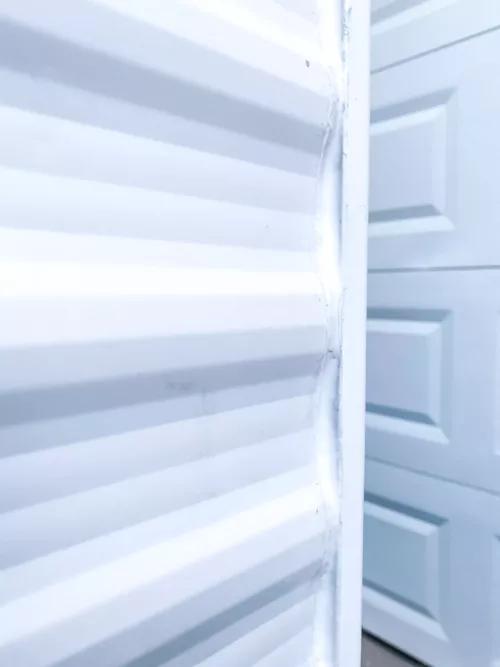
Sealing RV seams is important because water damage often happens at the corners where RV walls are joined together. Although RV walls leave the factory with sealant already applied to the seams, over time UV light and weather breaks the sealant down. This creates gaps in the corners which allow moisture to get inside.
Should You Use Silicone on the Exterior of your RV?
Never use silicone on the exterior of your RV! Here are 4 reasons why you shouldn’t:
- Silicone doesn’t stick to itself, so when it needs to be repaired, you need to remove all the silicone before you can start resealing the seams.
- It’s extremely difficult to remove.
- Silicone doesn’t have good adhesion on smooth surfaces and is prone to peeling.
- Over time, silicone drys to a hard finish and cracks.
How Often Should you Reseal your RV Exterior?
Inspecting your RV’s external seams should be done regularly to catch cracks, gaps, and separation before prolonged water damage can occur.
When you’re inspecting your RV’s roof at the start and end of the season, make it a habit to check all the vertical and horizontal seams in places like:
- Around the windows
- The seams of your slide-outs
- Corner joints of the walls
- Anywhere there is an RV appliance or internal compartment
And if you aren’t already, keep in mind that you should be resealing your RV roof (or replacing it) around the 10-year mark.
Now that we’ve established how often you should be inspecting your RV seals, here is how to reseal your RV exterior.
Shopping LIst
Tools
Instructions to reseal your RV exterior’s seams
Step
Inspect
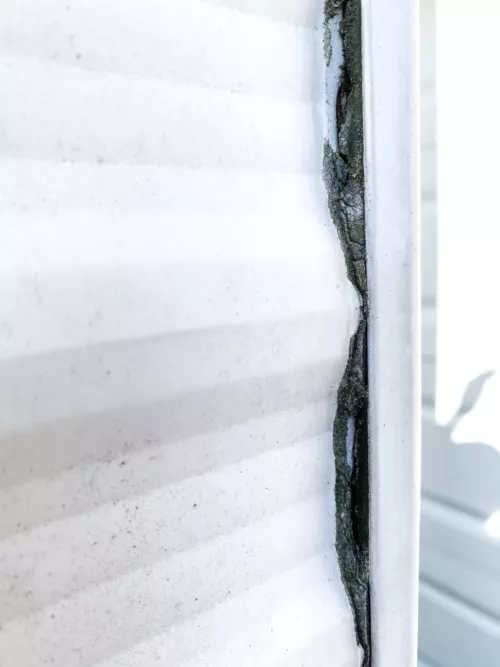
Look for any seams that are cracked or have gaps.
Step
Remove any cracked sealant
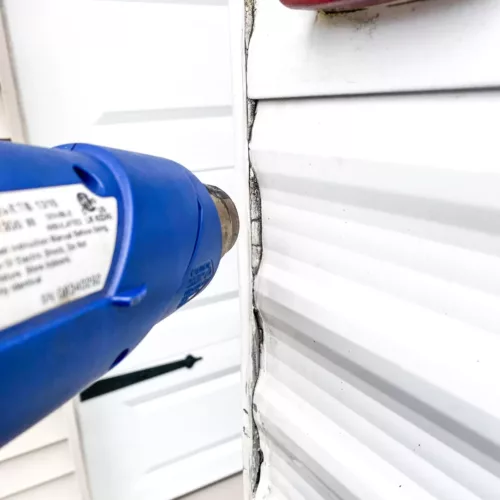
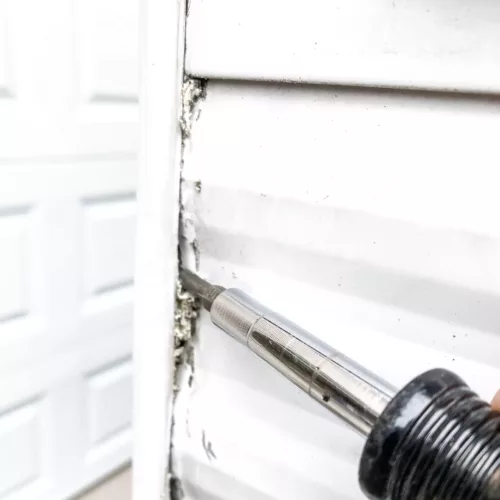
If the RV sealant is very cracked, use a heat gun to heat the old sealant until it’s soft. Then scrape it out with a plastic pick or regular screwdriver.
If you use a screwdriver, be careful not to scratch your RV’s exterior paint.
It’s important to remove the majority of the old sealant if it’s very weathered before adding new.
Note: If your sealant has minor cracks, you can just apply a bead of sealant over the existing sealant.
Step
Clean the area
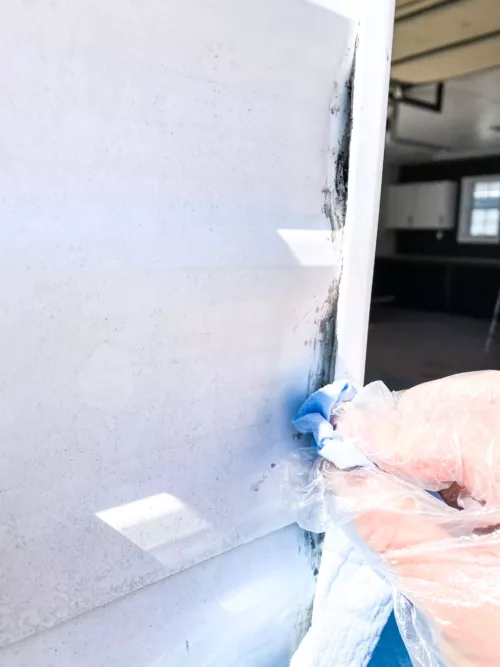
Clean the area with acetone to make sure all residue, oils, dust, and debris are removed.
Before applying new sealant, you want to have a clear base for the product to adhere to.
Step
Tape off the area
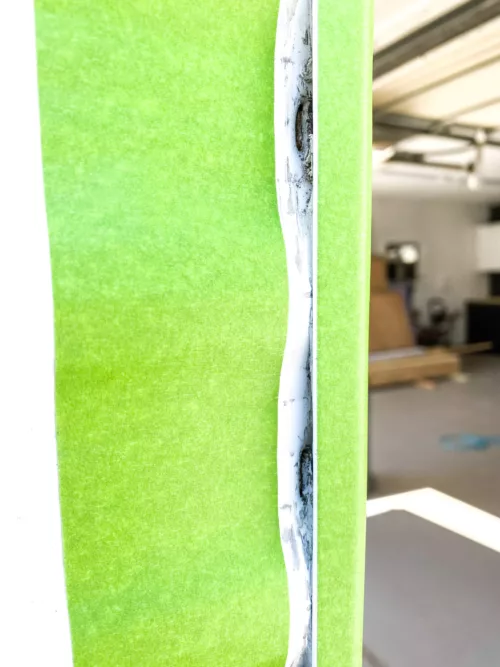
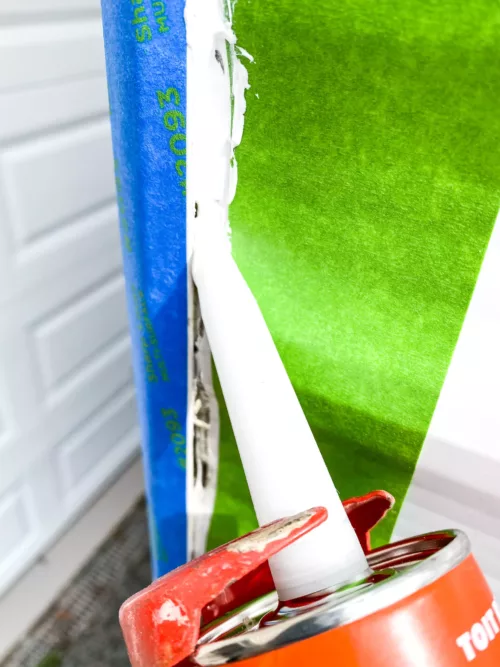
Tape off both sides of the seam that you’ll be resealing. This allows for a clean edge.
Step
Apply the new sealant
Apply a bead of 3M Marine 4000UV Sealant with a caulk gun. Be sure to smooth the bead with your finger or caulk tool.
Note: The sealant is very sticky, so you’ll want rags handy or to wear gloves. In my experience, the 3M sealant holds up best over time with the elements and UV rays.
Step
Clean up!
Remove the painters tape as soon as you finish applying and smoothing the bead of sealant.
Let the sealant cure for 24 hours.
