How to Make RV DIY Curtains
Project
Room
Cost
Skill Level
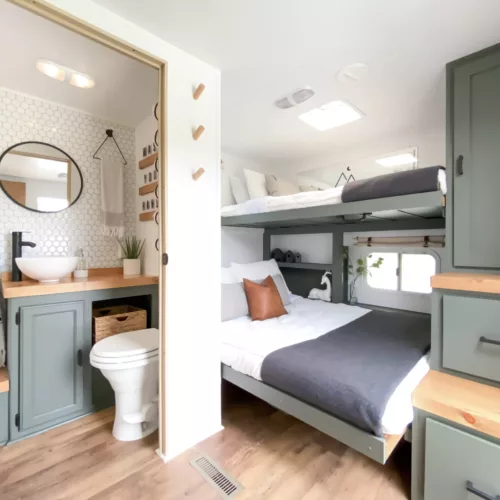
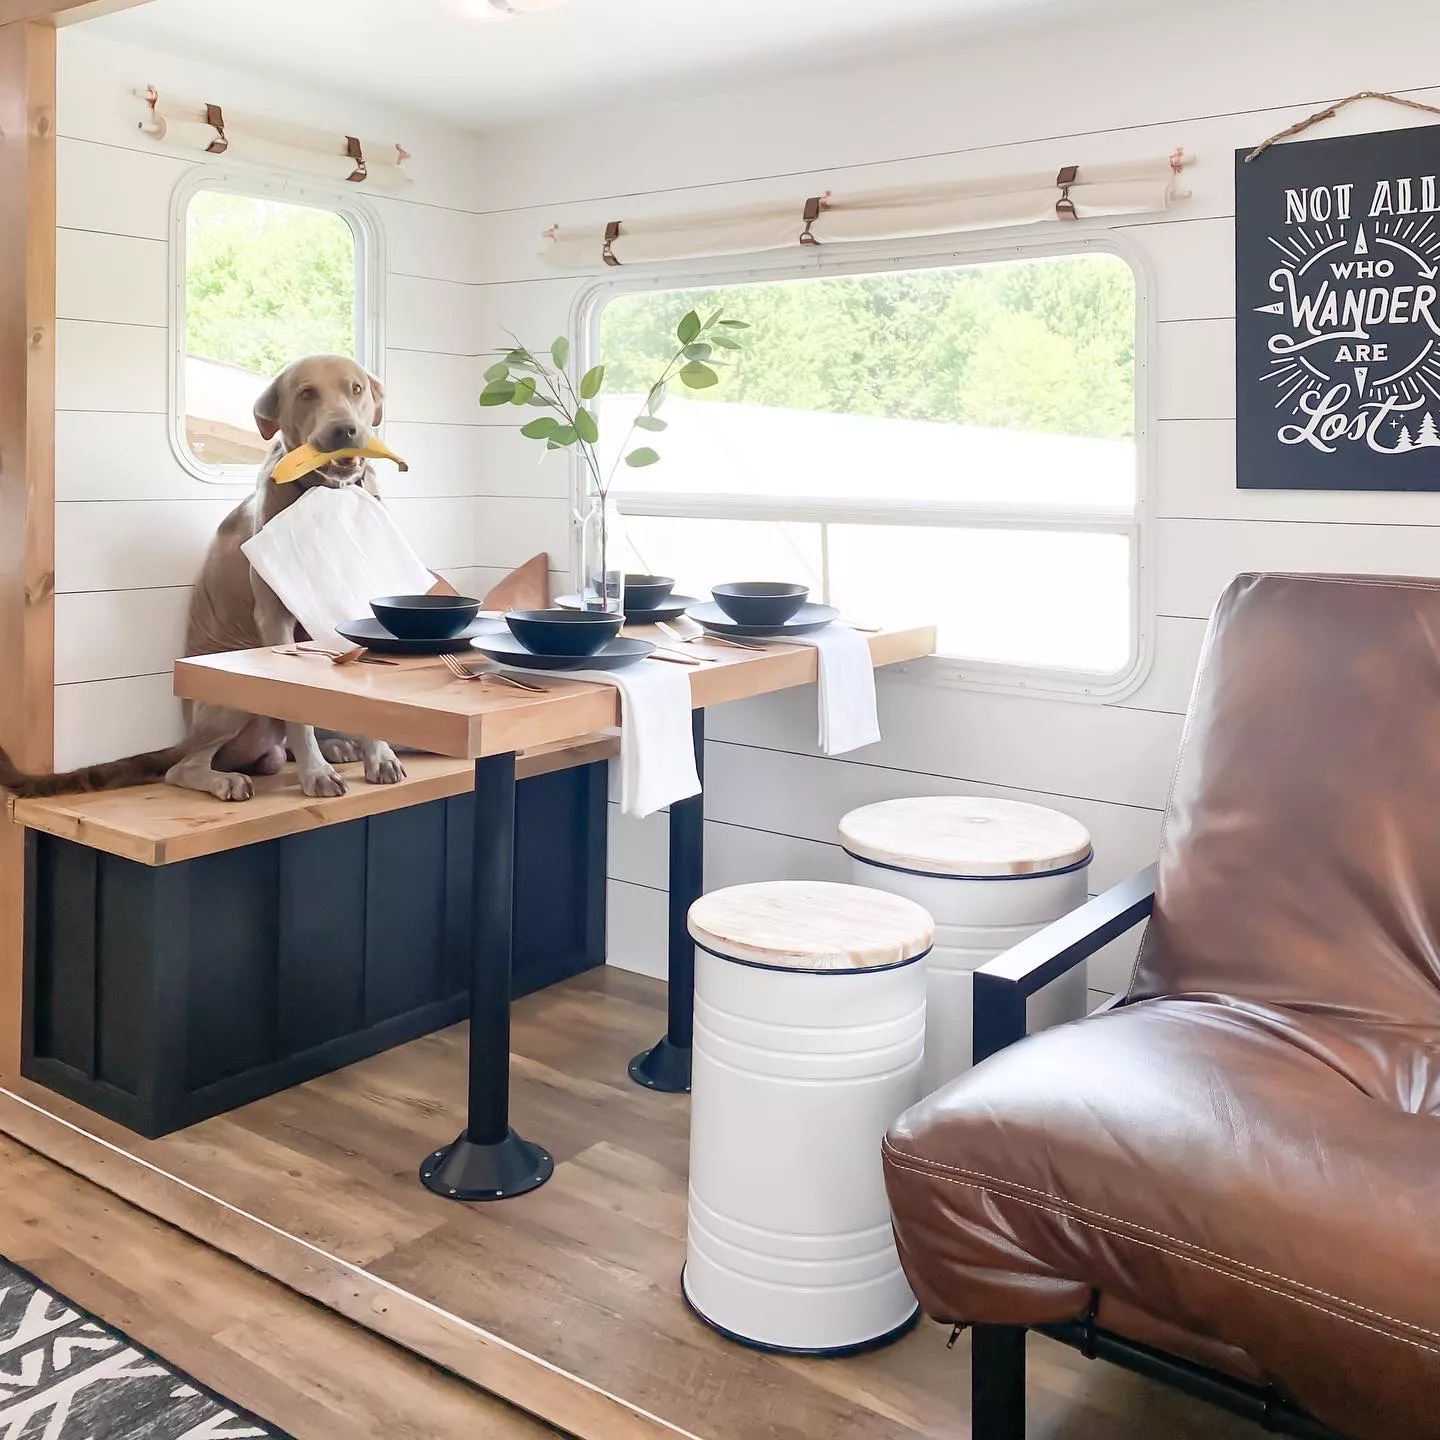
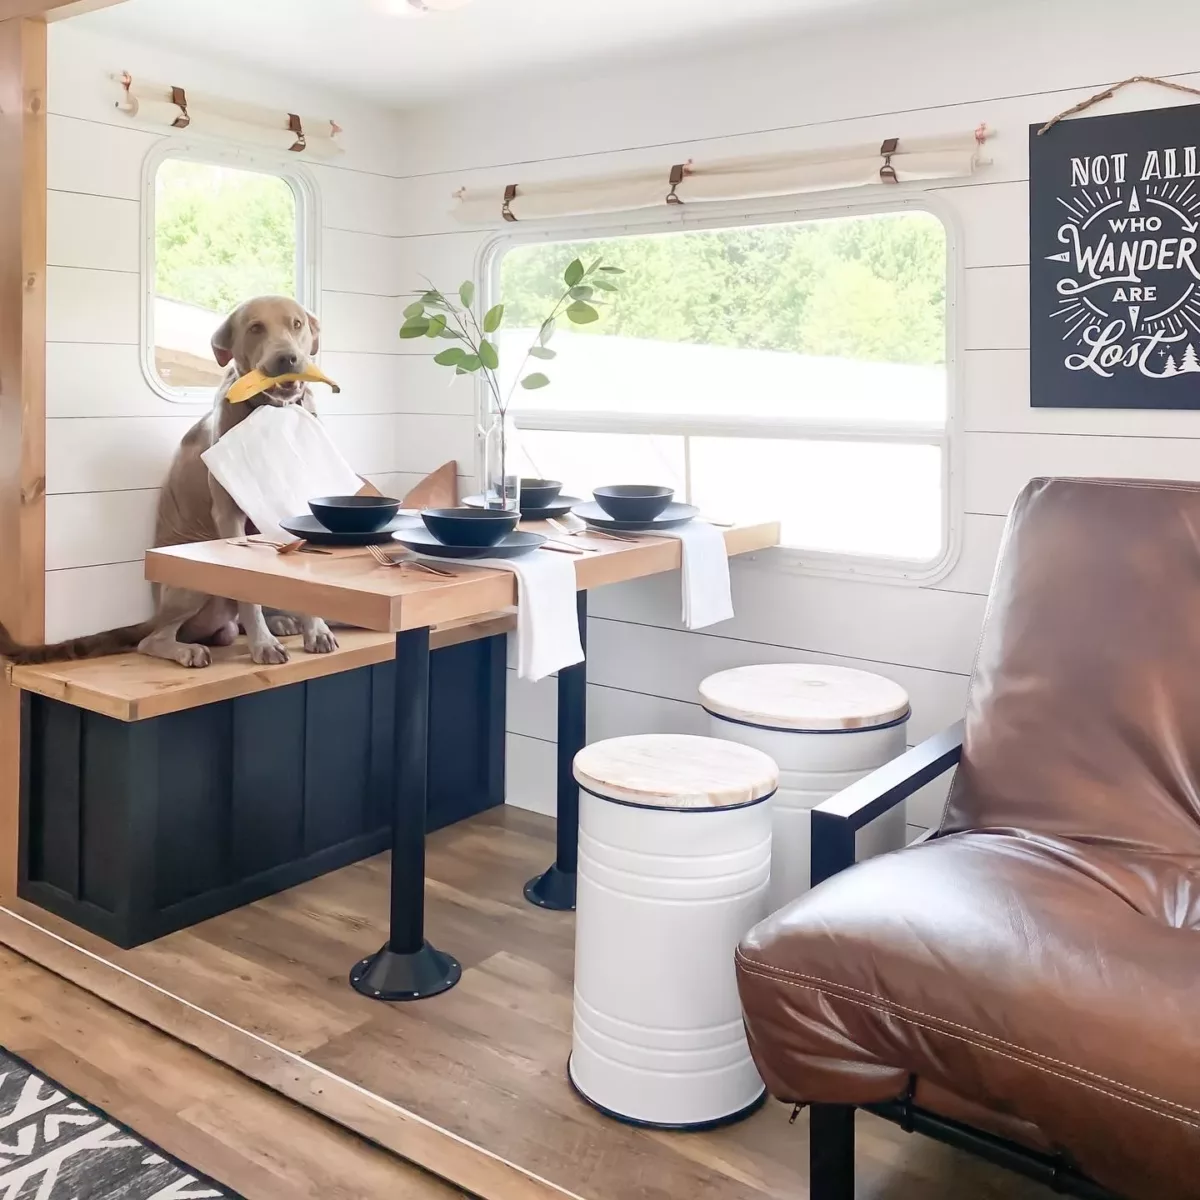
One of the first RV renovations that people want to do is to upgrade their RV window treatments. Take down those dusty, dated fabric valences and install your own trendy roll up curtains. Here we explain how to make RV DIY curtains.
How to Make DIY RV Curtains
Follow these easy step-by-step instructions to make your own roll-up curtains! The average cost per curtain comes out to just $15. That’s a huge saving for your RV renovation, plus they are lightweight and fashionable.
Find the Dimensions for Your DIY Curtains
Before you get too carried away, here are some tips for finding the proper dimensions for your new roll-up curtains.
Curtain Panel
- Measure the RV window width and height from the outside of the trim
- Cut the material to size
- Width: Window width + 4″
- Height: Window height + 7″
- Sewed material
- Width: Window width + 2″
- Height: Window height + 5″Sewed material
Straps
- Cut the strap material 9″ long
- Fold each end over 1″ with a lobster clasp and D-ring
Dowels
- Cut the dowel 4″ longer than the sewed material width
Shopping List
- 1 – 9′ x 12′ Drop Cloth OR 7 yards of linen fabric
- 18 – 1/2 x 48″ Wooden Dowel
- 3 – 1″ x 72″ Leather Strap
- 1 pack – 1″ Antique Copper Lobster Clasps
- 1 pack – 1″ Antique Copper D Rings
- 2 packs – 1/2″ Copper Pipe Straps
- 1 pack – 1″ Screws
- Beige Thread
- Brown Thread
- 1 pack – Headless Screws (optional)
- Rivets
*Quantities make 9 curtains for an RV.
Tools
Instructions
Step
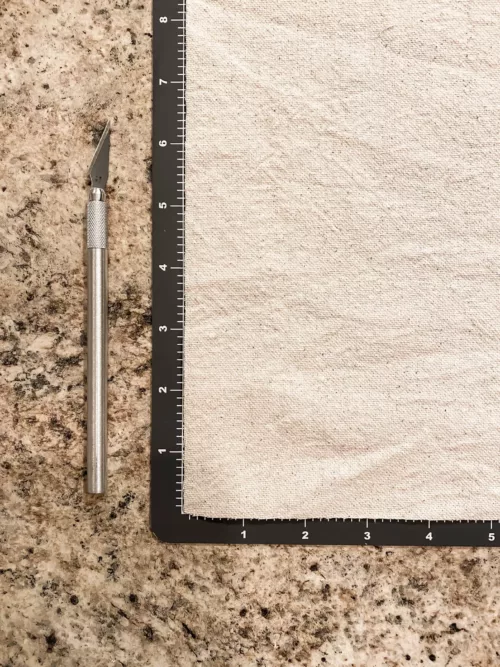
Measure your RV windows
First step in this process is to measure your windows.
Add 4″ to the width and 7″ to the height and cut the fabric with an Exacto knife.
Be sure to use a straight edge and make sure the material is square.
Step
Fold the fabric
Starting with the sides, fold the fabric over 1″ and iron float.
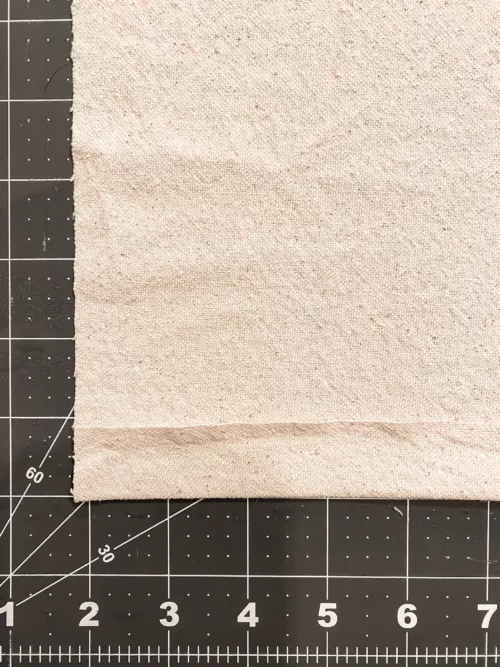
Step
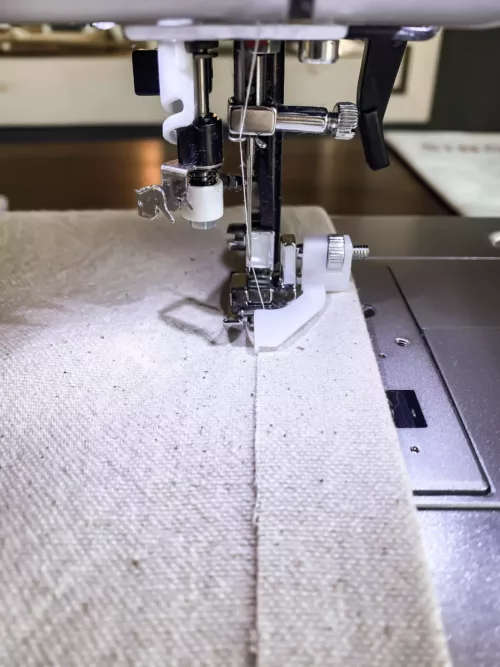
Sew the curtains
Sew each of the sides with the zig-zag stitch.
Step
Sew the edges
Fold over the top and bottom edges over 1″ and sew with the zig-zag stitch.
Tip: Make sure all the seams are folded and sewn from the same side.

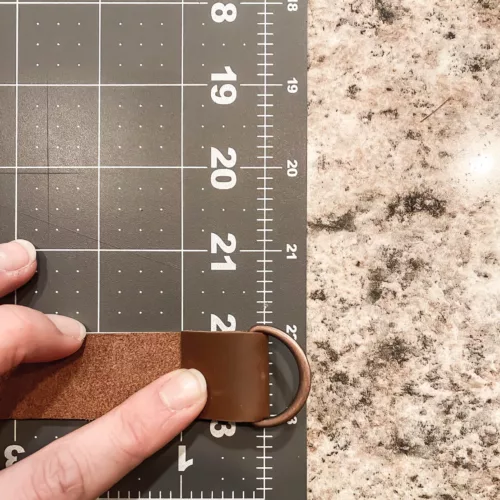
Step
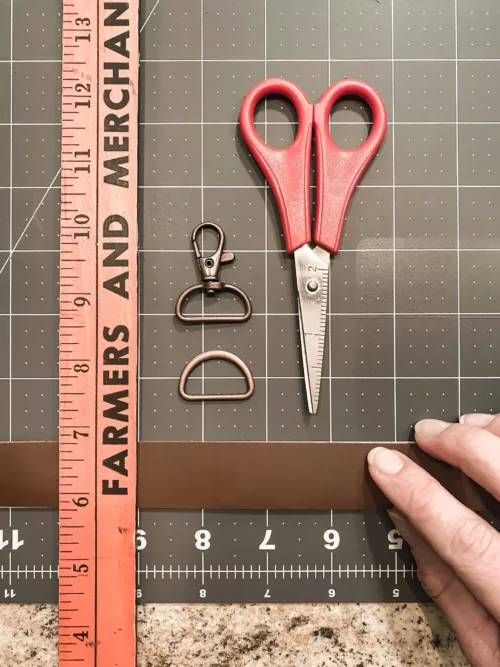
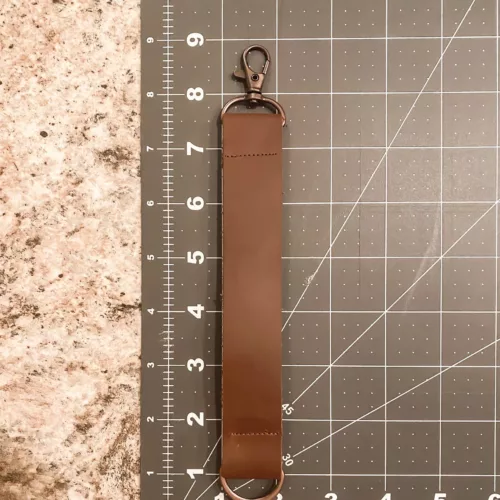
Cut the strap material
Cut the strap material with scissors or an Exacto knife to 9″.
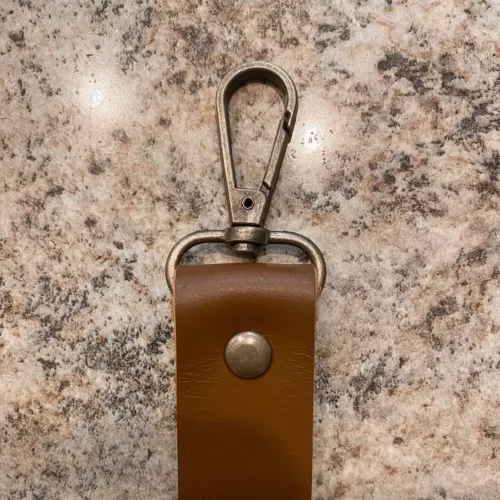
Step
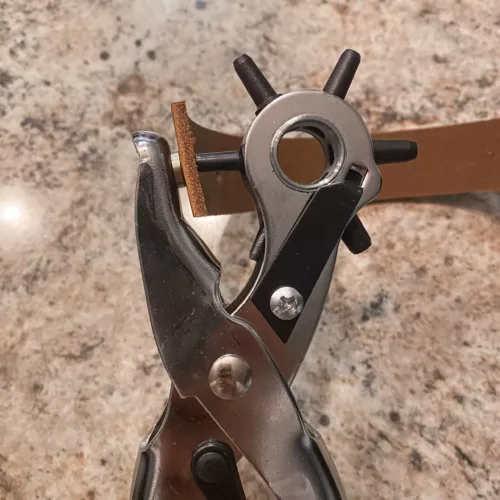
Create the straps
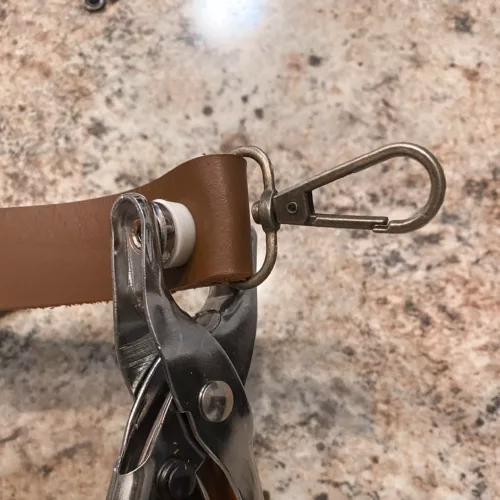
Using a fabric tape, measure in at 1/4″ and 2 3/4″ on each end of the strap and make a small mark with a pen in the center.
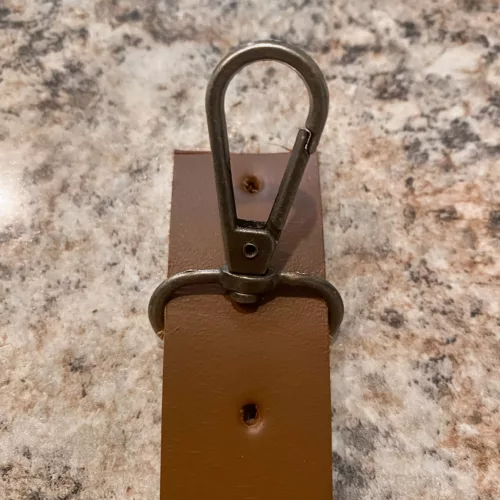
Then, using the leather punch tool, punch holes at each one of your marks. Slide a D ring on one end and the lobster clasp on the other end. Fold over the leather, insert a rivet, and use the rivet setting tool to close the rivet.
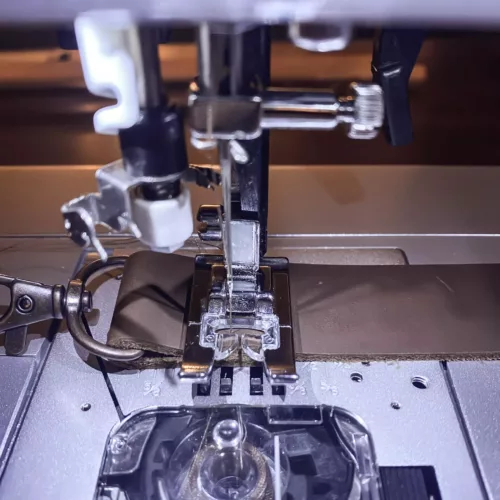
Step
Alternative method for the curtain straps
If your leather strap is thin enough, you can opt to sew it instead of using the rivets.
Add a D ring to one side and fold over 1″. Sew the material with a straight stitch. Repeat on the other side with the lobster clasp.
Be sure to go as slow as possible for the needle to penetrate both layers of leather.
NOTE: If your sewing machine won’t puncture through the leather, soak it in water to soften up the leather. You can also use the handwheel on your sewing machine to manually create the stitch.
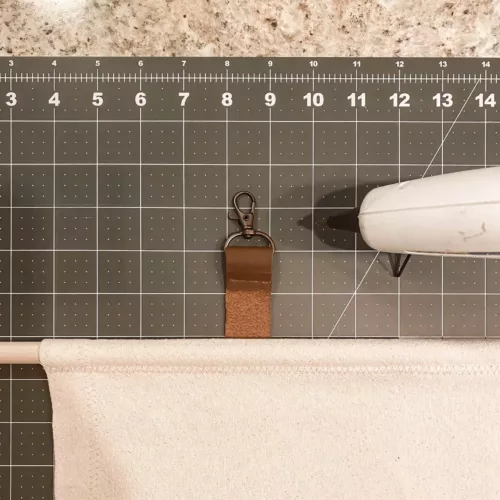
Step
Cut & install the dowels
Cut your dowels to size. Make sure the dowel is 4″ larger than the sewn material.
Insert the dowel into the curtain panel.
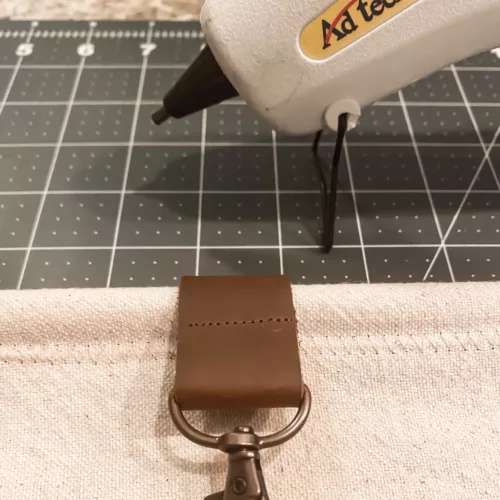
Next, measure over 4″ from the end of the fabric and hot glue the strap to the wooden dowel inside the curtain panel.
Step
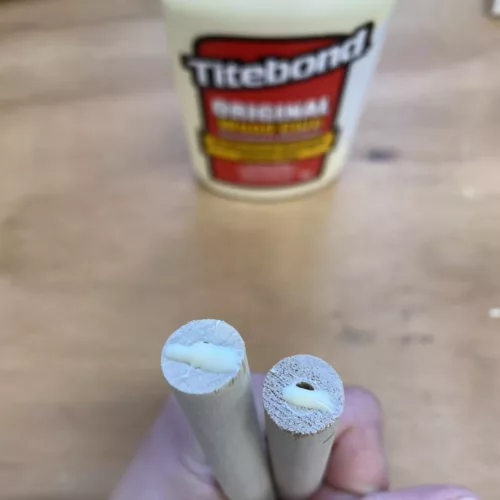
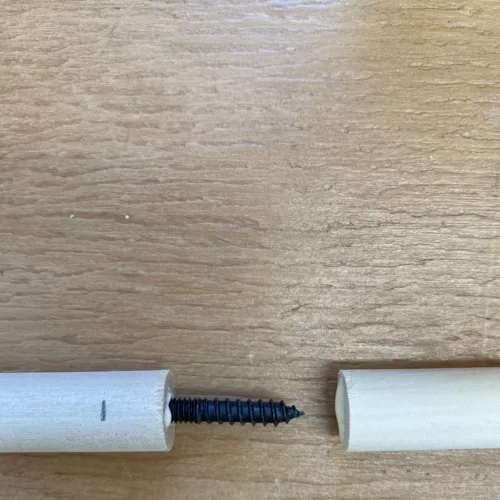
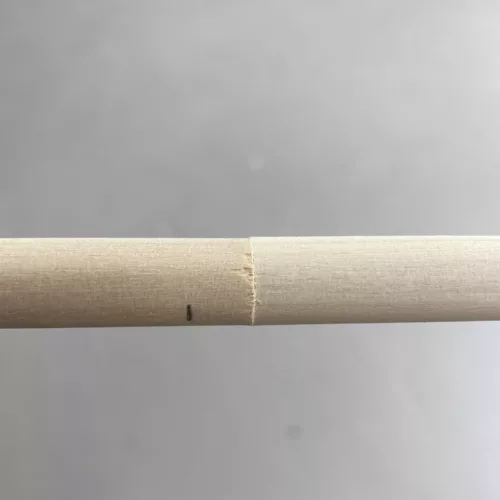
Connect 2 dowels for long RV windows
If you have a camper window that is larger than 48″, use the headless screws to join two dowels:
- Pre-drill a hole slightly smaller than the size of the headless screw
- Add wood glue on both ends
- Insert the screw
- Attach the two ends

Step
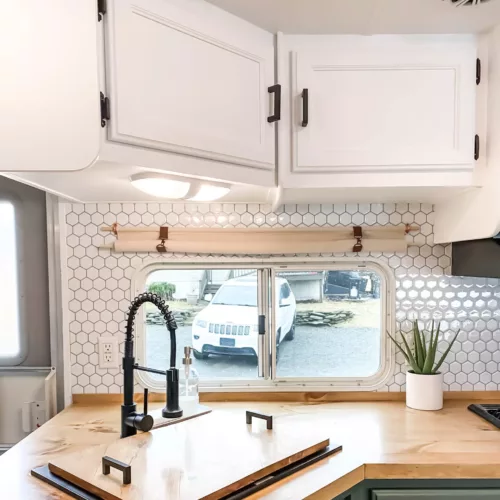
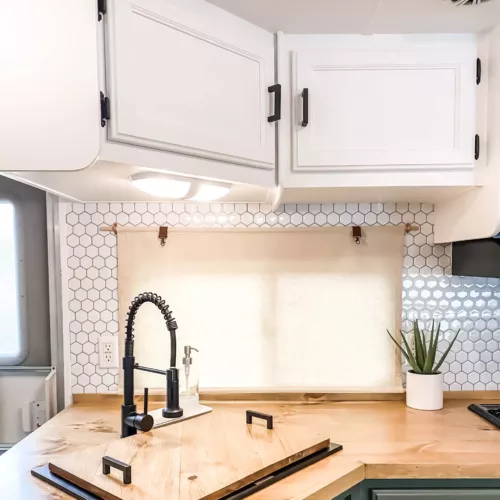
Install the roll-up curtains
Place the 1/2″ tube straps on the dowel and measure up 4″ from the top of your window.
Use 1″ screws to attach the tube straps to the RV wall.
More RV Renovation Ideas
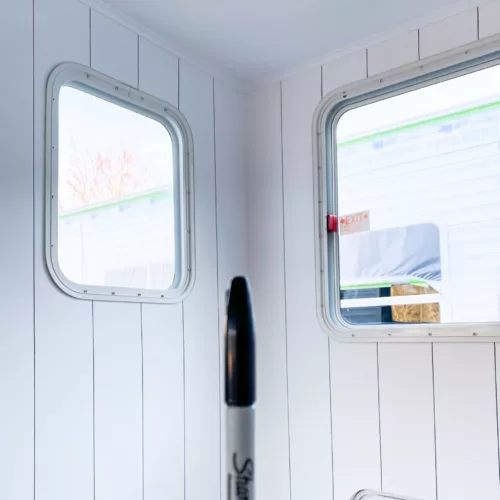
Love the look of shiplap but not the price tag? Try this $1 Sharpie Shiplap for a timeless look.
Ready to tackle your RV cabinets? Check out this complete guide for painting RV cabinets.
Need to update your RV interior walls? Here’s a complete step-by-step to painting your RV walls.
Want more RV Renovation content? Check out The Happy Glamper Instagram.